Use Galaxy with Tableau #
Welcome to Starburst Galaxy! In this topic, you will learn how to:
- Run simple queries from built-in catalogs.
- Create one or more catalogs from your organization’s data sources.
- Connect Tableau to Starburst Galaxy.
- Use Starburst Galaxy to create a Tableau dashboard.
This topic assumes the following things:
- You have a Starburst Galaxy login.
- You have access to one or more supported data sources.
- You have access to a supported Tableau product.
Once you complete all the tasks in this topic, you are ready to share your first Galaxy-powered Tableau dashboard.
Introduction #
Tableau is a popular analytics tool with powerful data visualization capabilities. You can access Starburst Galaxy clusters from the following Tableau products:
Today, you will learn how to build a dashboard in Tableau using Starburst Galaxy.
Run simple queries using the query editor #
Running queries using the Starburst Galaxy query editor is easy.
You can access the query editor at any time by clicking Query editor from the Query option of the navigation menu.
Your Starburst Galaxy account comes pre-configured with sample data. Click the
chevron_right expand
icon next to the sample cluster to explore the sample catalogs:
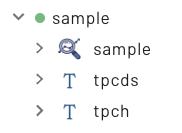
From there, expand the tpch catalog. TPC-H is a
popular sample database used for testing SQL queries and performing analytics.
Each of the schemas in the tpch catalog differ only in the size of their
dataset. For our purposes, we will use the sf1 catalog, the base row size of
the database.
In the query editor, type (or copy and paste) the following SQL statement:
SELECT *
FROM "tpch"."sf1"."customer"
ORDER BY acctbal DESC
LIMIT 10;
Click the ▶ Run button to execute the query. The result displays information
about the ten customers in the customer table with the highest account
balances.
Congratulations, you just executed your first query in Starburst Galaxy!
Connecting Tableau to Starburst Galaxy #
You are now ready to connect Tableau to Starburst Galaxy.
First, open the Tableau product you wish to use. The next steps depend on whether you are connecting to Galaxy via Tableau Desktop or Tableau Server.
Tableau Desktop #
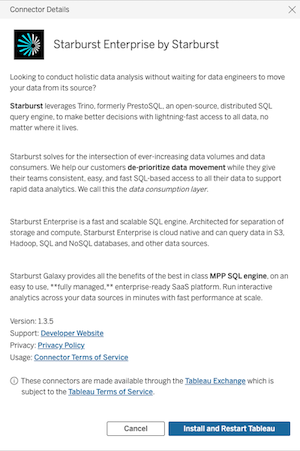
In Tableau Desktop, take a look at the Connect pane on the left side of the Start page. Under the To a Server heading, click More… to see a menu of all the data sources you can connect to. Under Additional Connectors, find and select Starburst Enterprise by Starburst.
Since this is your first time connecting to Starburst Galaxy from Tableau, a pop-up menu prompts you to install the Starburst connection file. Click Install and Restart Tableau.
Once Tableau restarts, find and select Starburst Enterprise by Starburst in the same menu once again.
Tableau Server #
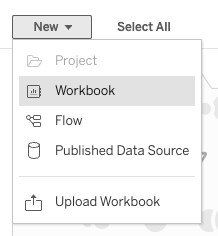
On Tableau Server, you must create a new workbook before you connect Tableau to Starburst Galaxy. Click New, then select Workbook from the drop-down menu.
In the pop-up menu labelled Connect to Data, click the Connectors tab. Then, select Starburst Enterprise by Starburst.
Connection dialog #
Now, you need to configure your connection to Starburst Galaxy in the Tableau connection dialog.

Starburst Galaxy makes this easy. Find your way back to Galaxy and
from the navigation menu, select Admin > Clusters. In the clusters list,
click the Connection info button for the sample cluster. In the Select
client drop-down menu, choose Tableau.
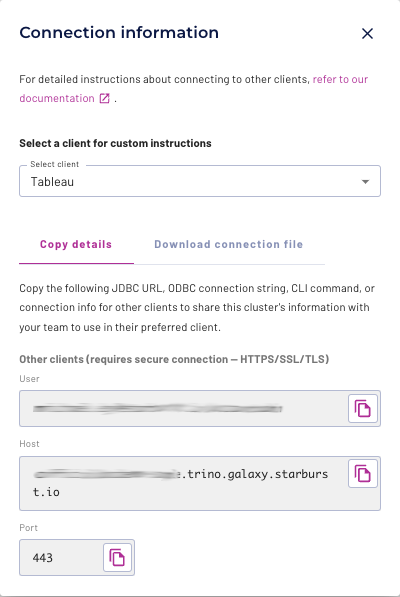
Copy the User, Host, and Port connection strings to your clipboard, and paste them into the User, Host, and Port fields in the Tableau connection dialog. Enter your password for Galaxy, and click Sign In.
Configure a new catalog #
Before we begin building our Tableau dashboard, let’s configure a new
catalog in Starburst Galaxy.
This will allow us to federate data between two Galaxy catalogs in
Tableau. For demonstration purposes, we are going to create a copy of the tpch
catalog in the sample cluster.
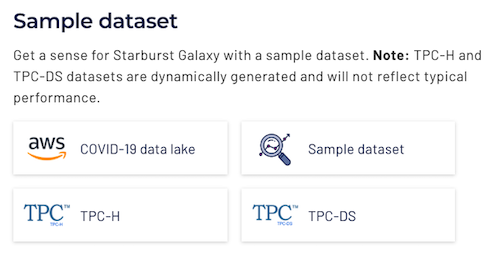
From the navigation menu in Galaxy, click Data > Catalogs. In the View Catalogs pane, click Create catalog. In the Select a data source pane, scroll to the bottom of the page and choose TPC-H.
In the Catalog name field, name your catalog tpch_copy. Then, click
Connect catalog. In the Set permissions pane, click Save access
controls. In the Add to cluster pane, select the sample cluster from
the drop-down menu. Click Add to cluster to finish setting up your catalog.
Create a simple Tableau dashboard #
Once you have familiarized yourself with the query editor, established your connection from Tableau to Starburst Galaxy, and configured your new catalog, you are ready to create your first Tableau dashboard.
Set up your data sources #
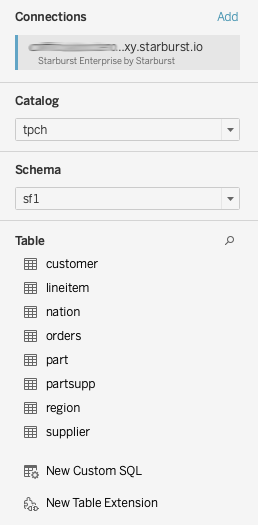
In Tableau, find the Data Source pane. From the Catalog drop-down
menu, select tpch. From the Schema drop-down menu, select sf1.
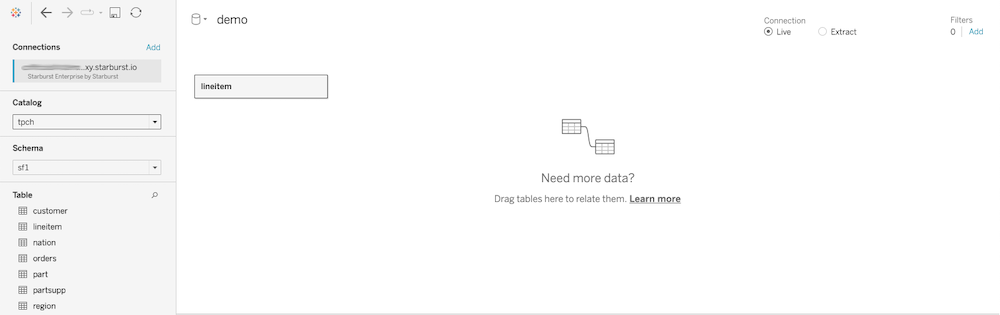
Under Table, double click the lineitem table. This opens the canvas, where you may add more tables and join them (or relate them).
In the canvas, double-click the lineitem table. Now, drag the orders table next to it on the canvas. This creates a join between the two tables. To view or edit the join, click the two overlapping circles between the tables.
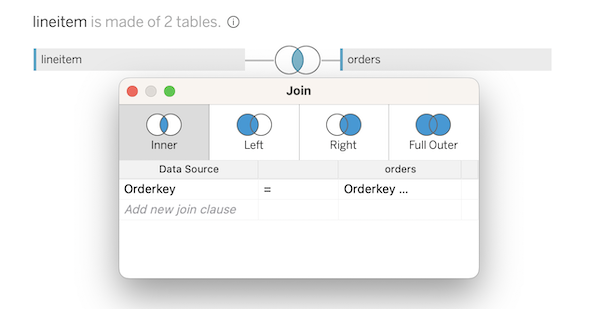
The Join window indicates that the lineitem table and the orders table are joined on the OrderKey column as an inner join.
Federate your data sources #
Now, let’s demonstrate how easy it is to federate your data with
Starburst Galaxy. We are going to join the lineitem table from the tpch
catalog with the part table from the tpch_copy catalog. You can follow these
steps to join tables from other platforms as well.
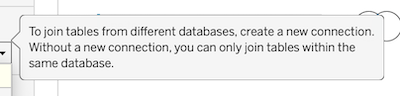
From the Catalog drop-down menu, select tpch_copy. You may receive the
following tooltip message, which you can ignore:
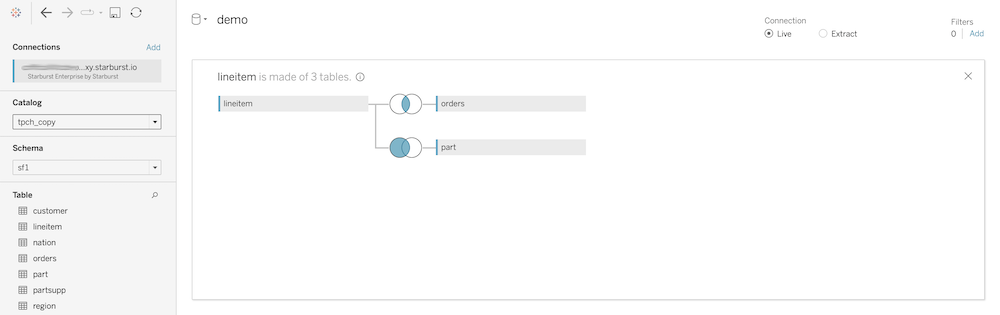
From the Schema drop-down menu, select sf1. Next, drag the part table
onto the canvas. Then, open the Join window again by clicking the two
overlapping circles between the lineitem table and the part table.
Ensure that the tables are joined on the PartKey column. Select Left to
configure the join as a left join.
Create simple charts in Tableau #
Now that you have configured your data sources, you are ready to create your first visualizations. First, open a new worksheet by clicking the New Worksheet button at the bottom of your workbook. The Data pane displays all the tables and columns you can use to build visualizations. The Data pane separates your data by placing dimensions (categorical data) on the top and measures (numerical data) on the bottom.
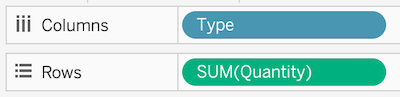
Let’s create a simple bar chart to explore the tpch data’s sales distribution
by product type. Drag the Type dimension from the part table to the
Columns shelf, and drag the Quantity measure from the lineitem table
to the Rows shelf.
Your bar chart should look like this:
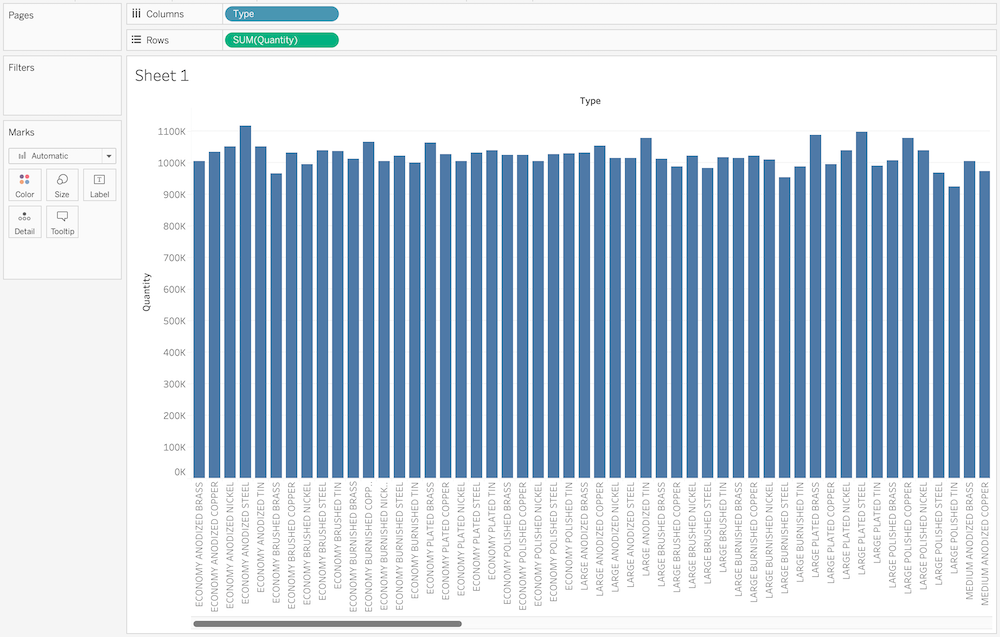
To rename the worksheet, double-click the worksheet name at the bottom of the workbook. Rename the worksheet to Quantity Sold.
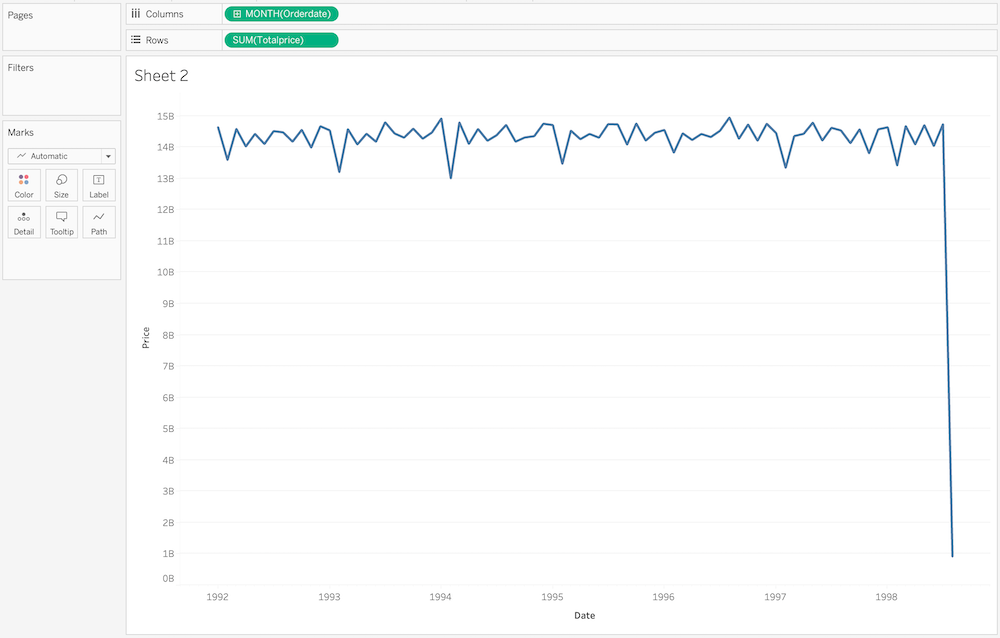
Next, let’s create a simple line chart to show the total sales amount over time. Drag the Orderdate measure from the orders table to the Columns shelf, and drag the Totalprice measure from the orders table to the Rows shelf. In the Columns shelf, right click Orderdate and select Month from the drop-down menu.

Your line chart should look like this:
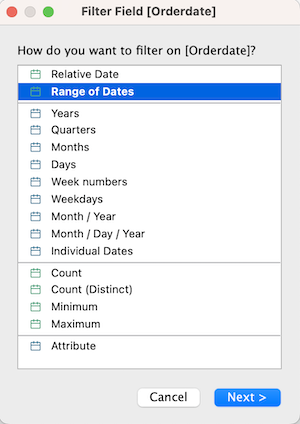
Then, add a filter so you can select a specific date range for the chart. Drag the Orderdate measure from the orders table to Filters. In the Filter Field dialog box, choose Range of Dates, then click Next >. In the next dialog box, click OK to continue.
In the Filters shelf, right click Orderdate and select Month from the drop-down menu.

Rename the worksheet to Total Sales. To rename axis titles, double-click the axis title to open the Edit Axis dialog box. Enter a new title in the Axis Title section. Rename the Y axis to Price, then rename the X axis to Date.
Create your dashboard #
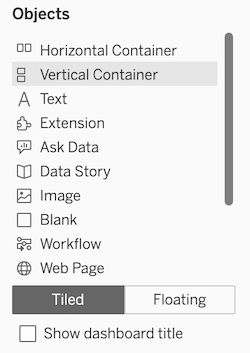
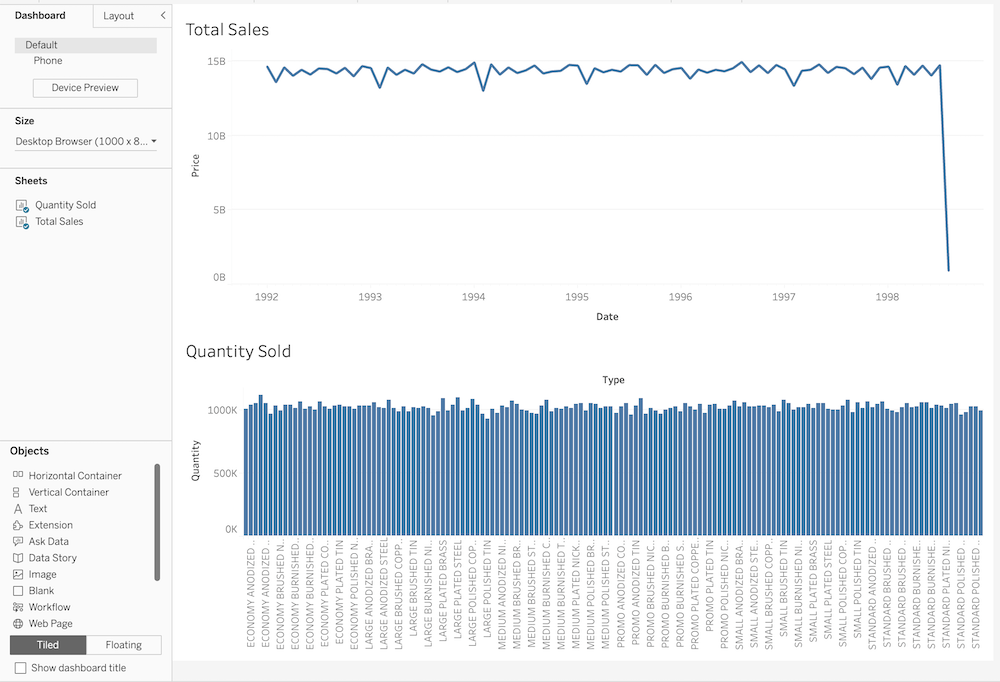
Now, you are ready to create your dashboard. Open a blank dashboard by clicking the New Dashboard button at the bottom of your workbook. Under the Objects list in the Dashboard pane, select Vertical Container. Drag the container onto the dashboard.
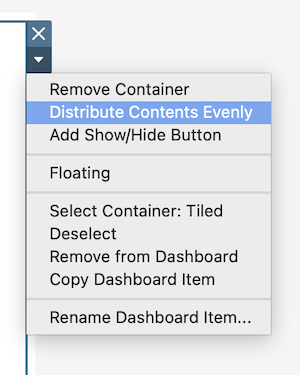
Select the empty layout container. From the container’s shortcut drop-down menu, choose Distribute Contents Evenly.
Next, under the Sheets list in the Dashboard pane, select Total Sales. Drag the worksheet onto the dashboard. Then, drag Quantity Sold onto the dashboard below Total Sales.
Now, select the Total Price sheet. From its shortcut drop-down menu, choose Filters > Month of Orderdate.
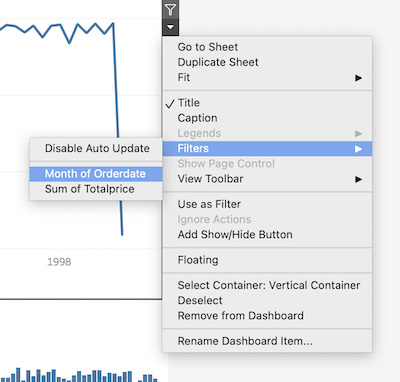
Drag the filter above the Total Price sheet. To rename the filter, right click the filter and choose Edit Title. Rename it Date.
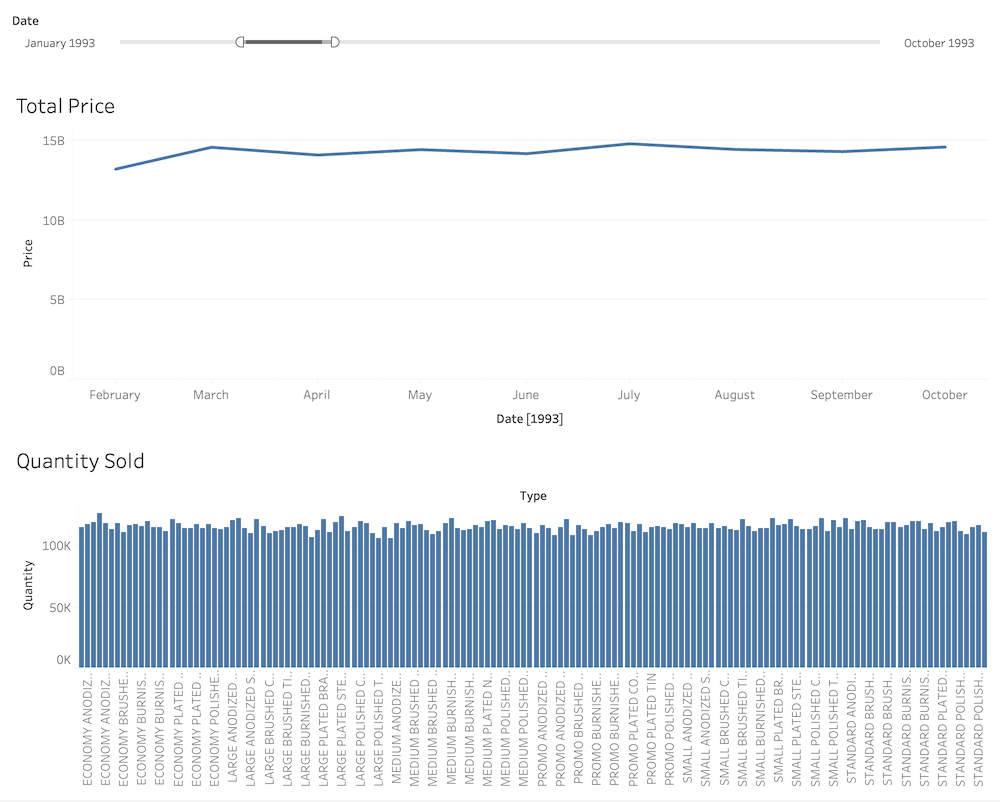
As a final step, from the filter’s shortcut-dropdown menu, choose Apply to Worksheets > All Using This Data Source.

Wow! Now you can view sales and product data for any date range by using the Date filter at the top.
Your dashboard should look like this:
Congrats, you just created your first Galaxy-powered Tableau dashboard!
Is the information on this page helpful?
Yes
No