Azure SAML setup #
Starburst Galaxy supports configuring Microsoft Entra ID (formerly Azure Active Directory) as a single sign-on (SSO) identity provider. There are two parts for full SSO participation, SAML and SCIM.
Follow the steps on this page to configure SAML connectivity between Azure and Galaxy, then go through Azure SCIM setup to complete the process.
Start on Starburst Galaxy #
-
In Starburst Galaxy’s navigation menu, open Access > Single sign-on.
-
Click
Configure single sign-on.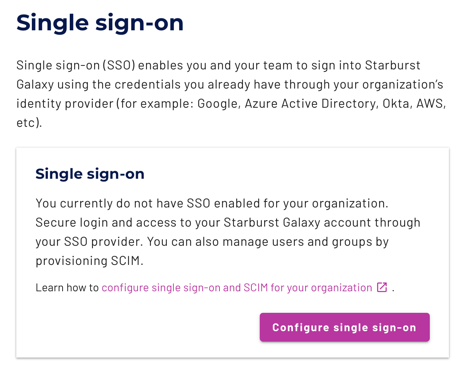
If Starburst Galaxy is already configured with an SSO provider, you must delete it before you add a new one. However, first see Delete an SSO provider to understand the consequences of SSO deletion.
-
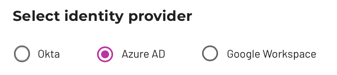
Select Microsoft Entra ID from the Select identity provider options.
-
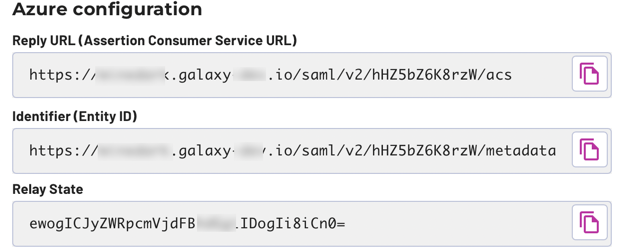
Take note of the strings in the next three fields, which are ready to copy into the Azure management console. The labels above each field are the same wording as in Azure to help you identify the target location.
 Note: Leave this browser window open to this pane while you open a new browser window.
Create integration in Azure #
-
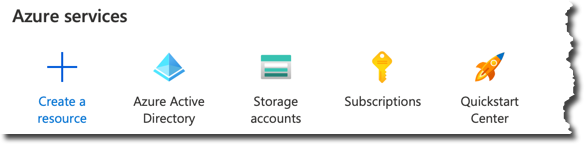
In a new browser window, sign in to your Azure account through the Azure portal.
-
In Azure services, select Microsoft Entra ID.
-
In the navigation menu, select Enterprise applications.
-
From the top menu, select New application.
-
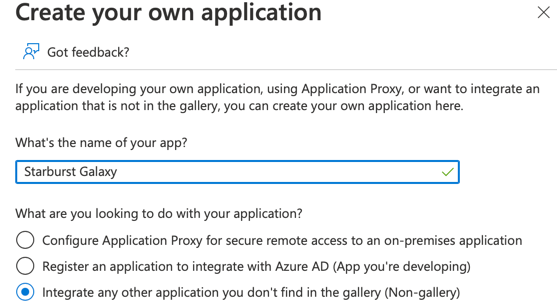
On the new page, from the top menu, select Create your own application.
-
Enter a name for the new app.
Starburst Galaxyis a reasonable choice. -
Select the bottom option, Integrate any other application.
-
Click Create.
-
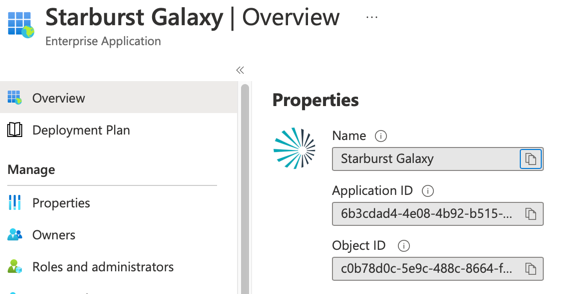
Next is the Properties Overview page for the new app you’re creating.
-
If you wish to add a logo image for this new app, click Properties in the navigation menu. In the Logo section, click to locate a local file to upload. Click Save.
Add initial user names #
-
In the Azure portal, still in the Enterprise Application pages for your Starburst Galaxy app, click Users and groups in the navigation menu.
-
Click Add user/group.
-
Under Users, click None Selected. This opens a pane showing a list of the configured usernames in this Microsoft Entra ID instance.
-
Select Azure users that you want to grant access to Starburst Galaxy. For initial SSO testing, choose a name that is already added as a user, with the same email address.
Once SCIM provisioning is working, you can return to this page to select Azure usernames that are not already Galaxy usernames.
-
Click Select, then Assign.
This registers the selected users as authorized to open the Starburst Galaxy application.
Copy SAML values to Azure #
-
In Azure’s navigation menu, click Overview.
-
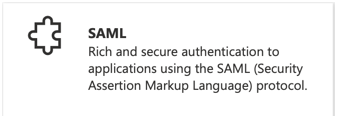
Click the Set up single sign on tile, then the SAML tile.

-
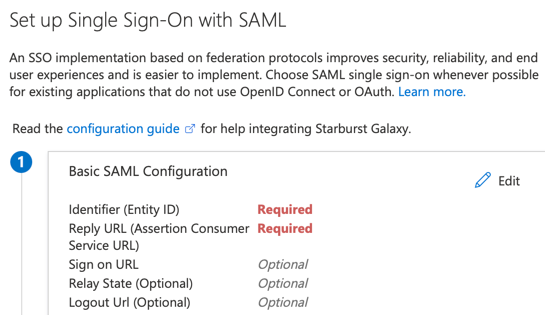
On the Set up Single Sign-On with SAML pane, click Edit to provide Azure with needed information from Galaxy.
-
Return to the Starburst Galaxy window you left open at the end of Start on Starburst Galaxy, still on the Single-sign on pane. Copy information from the Azure configuration section to Azure’s Basic SAML Configuration pane:
a. Copy the Identifier (Entity ID) value to the same-named field in Azure.
b. Copy the Reply URL (Assertion Consumer Service URL) value to the same-named field in Azure.
c. Copy the Relay State value to the same-named field in Azure.
d. Leave the other fields empty. Click Save, then close this pane with the X in the upper right.
e. Do not test the app yet, if prompted to at this point.
Copy SAML values to Galaxy #
Now copy information from Azure back to Starburst Galaxy. There are two ways to copy the required information:
- With a single metadata URL
- With manual entry of three fields
Metadata URL option #
Metadata URL is the easiest option to use because there is a single URL string to copy.
-
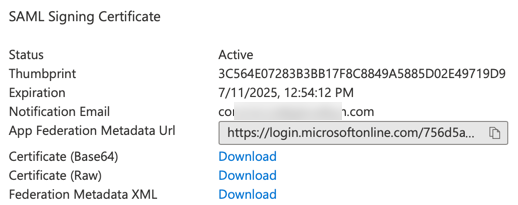
In the Azure portal, from section 3 of the SAML-based Sign-on page, copy to the clipboard the contents of the App Federation Metadata Url field.
-
In Galaxy, in the Configure Starburst Galaxy section, select Metadata URL. Paste the copied URL into this field.
-
Proceed to test the configuration.
Manual entry option #
Manual entry requires you to locate and copy three fields of information from Azure to Starburst Galaxy.
-
In Starburst Galaxy, in the pane you left open, select the Manual entry option.
-
In the Azure portal, from section 3 of the SAML-based Sign-on page, click the Download link for Certificate (Base64).
-
Locate the downloaded file and open it with a text editor.
Do not double-click the file, which may prompt your operating system to load the cert into your system keychain, or may ask what app to open to handle it.
-
Copy the entire contents of the certificate from the text editor, including the BEGIN and END CERTIFICATE lines, to the field labeled Certificate in Starburst Galaxy.
-
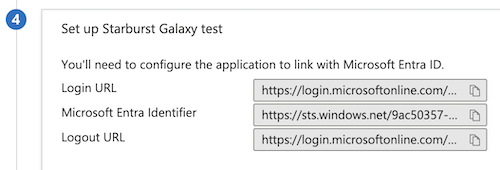
From Azure in section 4, copy the Login URL value to the same-named field in Galaxy.
-
From Azure in section 4, copy the Microsoft Entra Identifier value to the same-named field in Galaxy.
-
Proceed to test the configuration.
Test configuration #
-
In Galaxy, click Test configuration.
-
If SAML communication between Azure and Starburst Galaxy is valid, you receive a green success message.

If you receive a red failure message, go back through these steps to make sure there is not a typo or other error.
Configure new user emails #
New users that get added via SCIM can optionally be sent a welcome email. By default this functionality is disabled, but can be enabled by checking the Send welcome email to new users checkbox.

Finish configuration #
With the test confguration successful, click Configure single sign-on to complete the process.

Test launching Galaxy from Azure #
-
In the Azure portal, return to the Single sign-on pane from the navigation menu.
-
Click either Test this application in the top menu, or Test in section 5. Both open the same sidebar.
-
You must be logged into the Azure portal as one of the users you granted access to in Add initial user names. If that is the case, click Test sign in.
If you are logged into Azure with a different user name, skip this step.
Proceed to SCIM configuration #
Completion of SAML configuration in Starburst Galaxy leaves you at the beginning of the Provision SCIM stage where the following dialog appears.
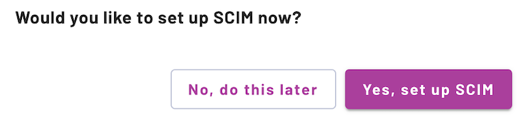
This marks a good stopping point if you need a break, but Azure is not yet configured to provide SSO authentication. You can click the No, do this later button or even log off, and your setup position is preserved. When you return, click Provision SCIM on this pane.
See Azure SCIM setup for the final configuration steps.
Is the information on this page helpful?
Yes
No