Create a data product #
In Starburst Galaxy, data products let you supply more detailed business context to users of your datasets. You can create a data product, directly from the navigation menu, from a schema, or from query results.
To create a data product, your active role set must include a role with the Manage Security account privilege.
Create a data product from the menu #
From the navigation menu, go to Data > Data products.
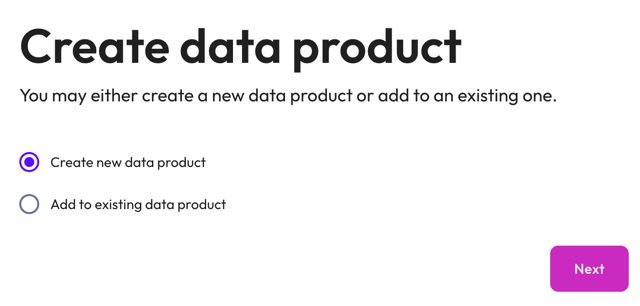
In the Create data product dialog, select Create new data product or select Add to existing data product to update an existing data product. Click Next.
The following sections walk you through the configuration process:
- Step 1: Select a data product location
- Step 2: Add data product details
- Step 3: Define datasets
Select a data product location #
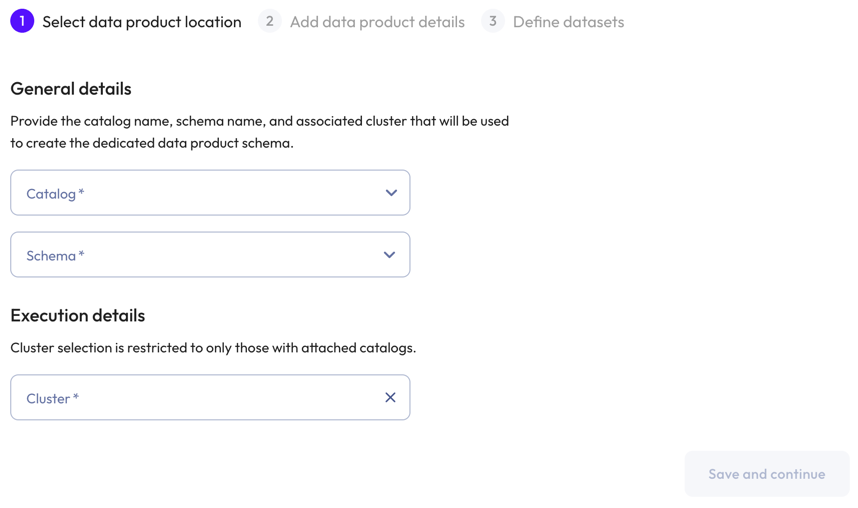
In the Select data product location dialog, provide the following details:
- In the General details section, specify a catalog and schema.
- In the Execution details section, specify a cluster.
-
Click Save and continue.
Add data product details #
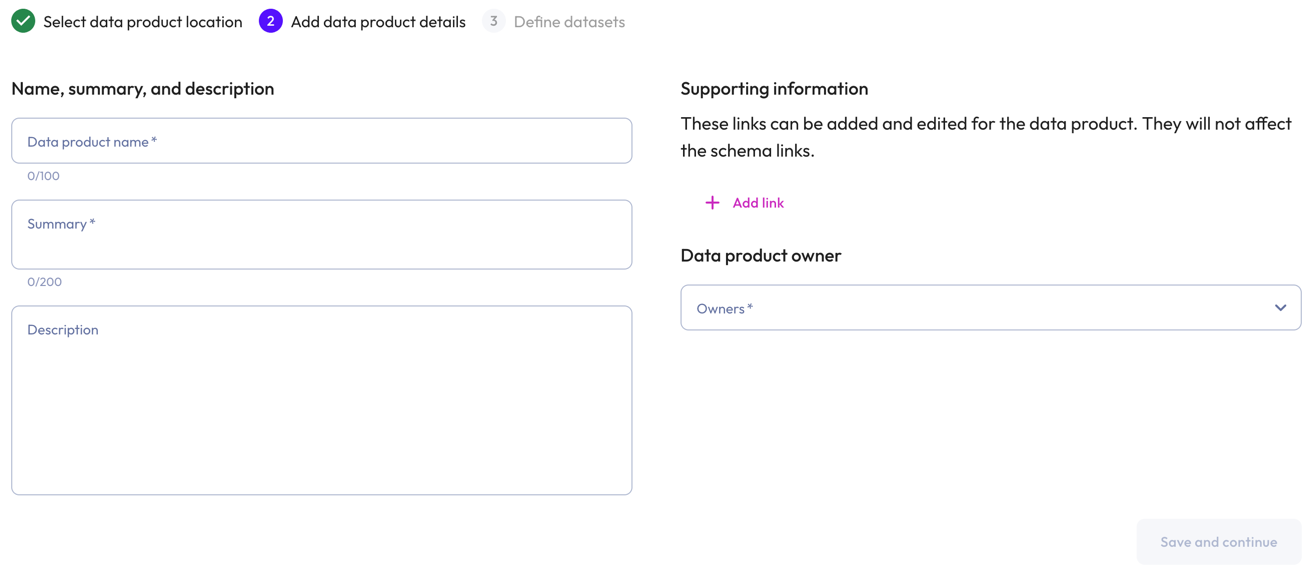
In the Add product details dialog, provide the following details:
- In the Name, summary, and description section:
- Data product name: A descriptive name for your data product.
- Summary: A concise overview of the data product.
- Description: A detailed description of your data product. The
description text field lets you provide pertinent information about the
data product, such as intended use. Click Markdown to
write your text in Markdown.
Click visibility Preview description to see the formatted
output.
-
In the Supporting information section, include any web links that are relevant to the data product.
- To add a link, click addAdd link. In the respective fields, enter the display text for the link and the URL.
- To remove a link, click do_not_disturb_on.
-
In the Data product owner section, select a user who can provide information or support for the data product.
-
Click Save and continue.
Define datasets #
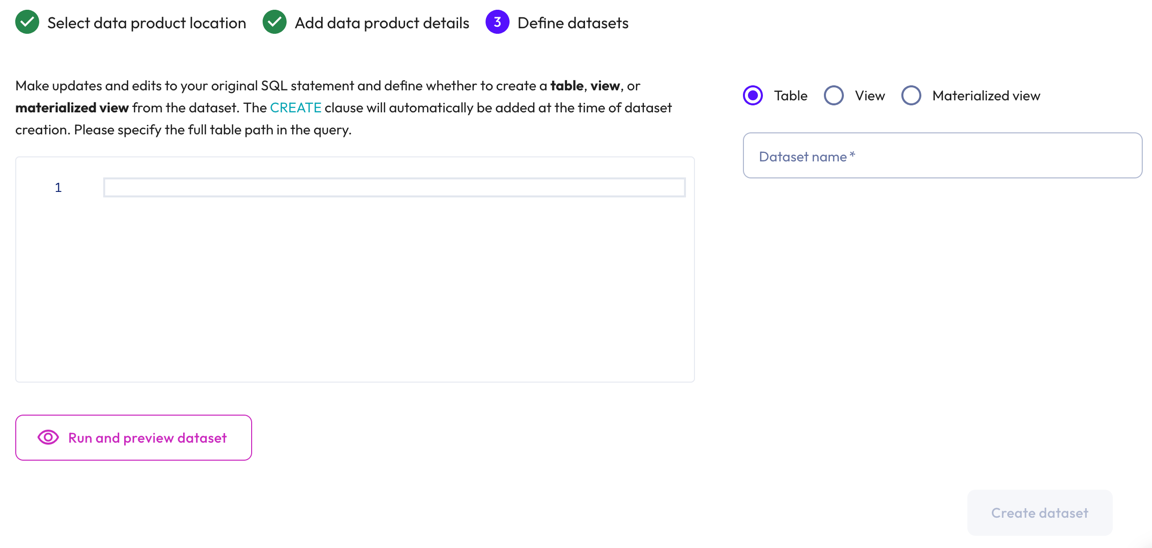
In the Define datasets dialog, perform the following actions:
-
Use the SQL editor to edit and update your original SQL statement. If you created a data product from the query editor, your SQL statement is pre-populated here.
Click visibility Run and preview dataset to apply any changes made to the SQL query and to view a 10 row sample of the dataset.
The
CREATEclause is automatically added at the time of dataset creation.Queries must specify the full table path.
-
In the Dataset type section, choose whether to create a Table, View, or Materialized view from the dataset. This section shows only the dataset types supported by the selected dataset.
If selecting Materialized View, select a Refresh type: Manual or Scheduled. The Materialized View option also requires an object store configured with Iceberg as its default table format. The view is not visible, otherwise.
-
Provide a name for the dataset, then click Create dataset.
Add to an existing data product #
In the Create data product dialog, select Add to existing data product, choose a data product from the drop-down menu, then click Next.
In the Define datasets dialog, perform the following actions:
-
In the Dataset section, you can edit and update your original SQL statement.
Click visibility Preview dataset to apply any changes made to the SQL query and to view a 10 row sample of the dataset.
The
CREATEclause is automatically added at the time of dataset creation. -
In the Dataset type section, choose whether to create a Table, View, or Materialized view from the dataset. This section shows only the dataset types supported by the selected dataset.
If selecting Materialized View, select a Refresh type: Manual or Scheduled. The Materialized View option also requires an object store configured with Iceberg as its default table format. The view is not visible, otherwise.
-
Provide a name for the dataset, then click Add to data product.
Create a data product from a schema #
You can create a data product from an existing schema by promoting it.
To promote a schema to a data product:
-
Locate the schema you would like to promote to a data product in the schemas level of the catalog explorer.
-
Click widgets Promote to data product.
In the dialog, provide the following details:
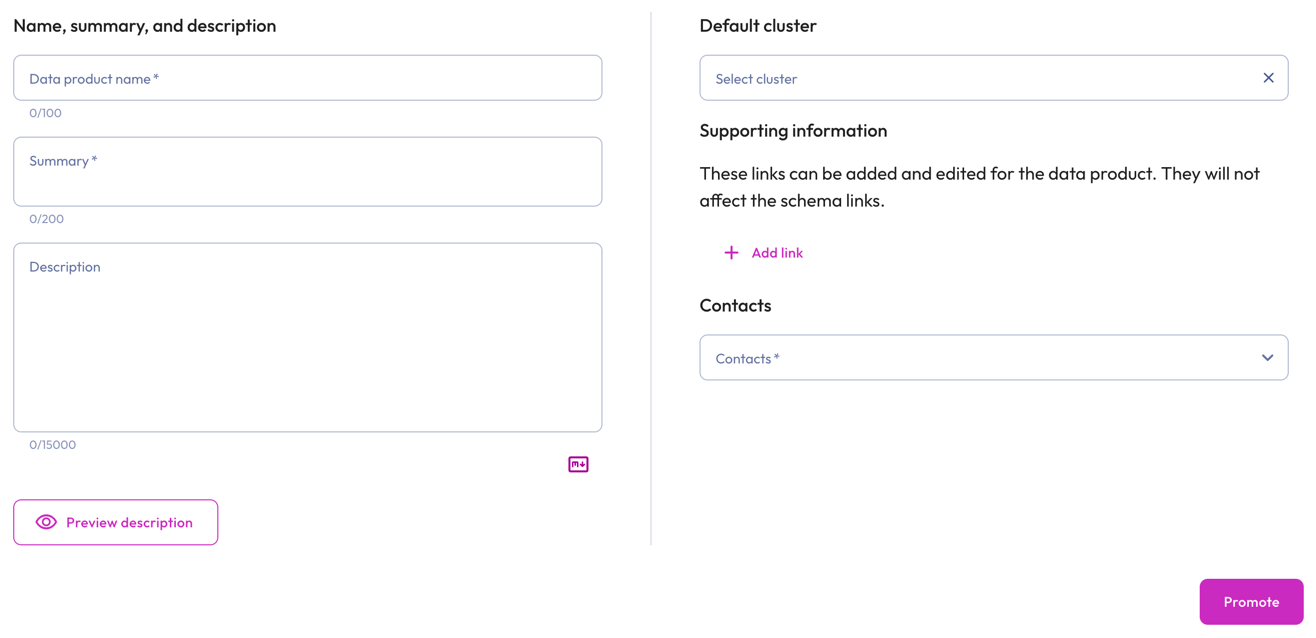
- In the Name, summary, and description section:
- Data product name: A descriptive name for your data product.
- Summary: A concise overview of the data product.
- Description: A detailed description of your data product. The
description text field lets you provide pertinent information about the
data product, such as intended use. Click Markdown to
write your text in Markdown.
Click visibility Preview description to see the formatted
output.
-
In the Default cluster section, click inside the Select cluster field to select a cluster from the list.
- In the Supporting information section, include any web links that are
relevant to the data product. Links are imported from the schema if you chose
to import link metadata.
- To add a link, click addAdd link. In the respective fields, enter the display text for the link and the URL.
- To remove a link, click do_not_disturb_on.
.
-
In the Contacts section, select a user who can provide information or support for the data product.
-
Click Promote to finish creating your data product.
Create a data product from query results #
After running a query, you can create a data product directly from the query editor.
Click widgets Create data product in the results pane, then follow the create data product configuration process.

Is the information on this page helpful?
Yes
No