Attribute tags #
In the navigation menu, use Access > Tags to open the Tags pane, which allows you to view the list of attribute tags and the properties for each tag, as well as to create, edit, and delete tags.
Create a tag #
To create a new tag, the user’s active role set must include the Create tag privilege.
Follow these steps to create a new tag:
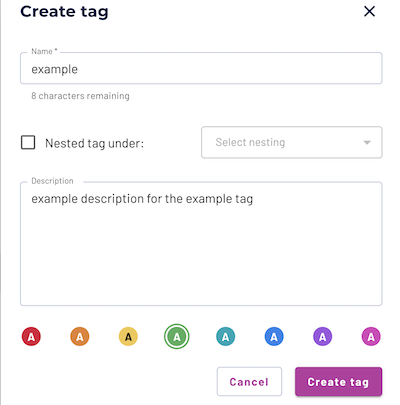
- In the Tags pane, click Create tag.
- In the Create tag dialog, enter a name for your tag in the Name field, up to 15 characters. Tag names must only consist of lowercase letters, numbers, and underscores.
- To nest your new tag under an existing tag, select the Nested tag under:
option and choose an existing tag in the Select nesting drop-down. Nested
tag names precede with the name of the parent tag, such as
tag1.tag2. - Add a description or comment about the tag in the Description field.
- Choose the color you would like to be associated with your tag.
- Click Create tag.
Find tags #
Use the search bar to find tags and their properties. For example, you can
search for all tags owned by the role accountadmin by searching for
accountadmin.
Starburst Galaxy shows a table with the following columns:
- Tag name: The name of the tag.
- In-use: The occurrences of the tag across Starburst Galaxy.
- Comment: The comment or description given to the tag upon creation.
- Owning role: The role that owns the tag.
- Created: The timestamp for when the tag was created.
- Last updated: The timestamp for when the tag was last updated.
To view nested tags, click a parent tag’s ^ expand arrow. Similarly, to collapse a nested tag into its parent tag, click its v collapse arrow.
To view your tags in a grid, select the grid icon apps on the right. In grid mode, you can view tag properties by hovering over the tag. To switch back to a table format, click the table list icon view_list.

Sort tag list #
To reorder the tag list by column, click a column name to sort by that column. Click the column name again to reverse the sort order.
Edit a tag #
To edit an existing tag:
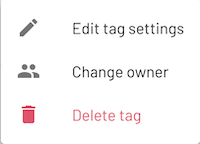
- Click the options ( more_vert ) menu on the right-hand side of the tags table if in table mode, or the options menu on the tag name if in grid mode.
- Select Edit tag settings.
- Edit the tag’s name, nesting, description, or color.
- Click Save tag.
Change tag ownership #
To change the owning role of the tag:
- Click the options ( more_vert ) menu on the right-hand side of the tags table if in table mode, or the options menu on the tag name if in grid mode.
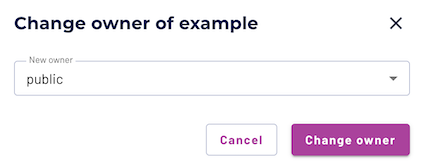
- Select Change owner.
- From the menu, select a new owner.
- Click Change owner.
- Click Change in the Confirmation window.
Delete a tag #
To delete an existing tag:
- Click the options ( more_vert ) menu on the right-hand side of the tags table if in table mode, or the options menu on the tag name if in grid mode.
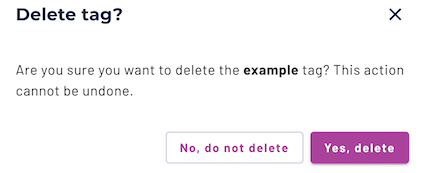
- Select Delete tag.
- Select Yes, delete. A deleted tag cannot be restored.
Associating tag with entities #
To apply a tag to an entity, the user’s active role set must include the Apply tag privilege.
A tag can be associated with one or more catalogs, schemas, tables, views, or columns in the catalog explorer.
Child entities inherit tags from their parent. For example, if you associate tags with a catalog, the schema and tables in that catalog inherit the tags. If you associate tags with a schema, the tables in that schema inherit the tags.
Is the information on this page helpful?
Yes
No